Interaction DEMOS
This section describes the scenes located in SofaUnity/Scenes/Demos/Interaction. These scenes illustrate more advanced physics simulation scene with Unity interaction either using the mouse, the keyboard or user interface. The demos described bellow are:
- Demo_01_LiverInteraction: Simulation of tools interacting with a deformable liver. One grasper and one carving tool.
- Demo_02_LiverInteraction-HD: Simulation of tools interacting with a high resolution deformable liver. Two graspers and one carving tool.
- Demo_03_CubeCarving: Simulation of physical sphere carving a deformable cube.
- Demo_04_CubeAdvancedCarving: Simulation of physical sphere carving a deformable cube with mesh refinement.
- Demo_05_LiverCut: Simulation of cut in a deformable liver using a parametrizable plan of cut.
- Demo_06_LiverCut-CUDA: Simulation of cut in a deformable liver using a parametrizable plan of cut in CUDA.
- Demo_07_MeshController: Demo showing how to map Unity 3D mesh position into SOFA simulation.
- Demo_08_MouseTissuePicking: Mouse interactive demo with a 3D surface tissue.
01. Demo_01_LiverInteraction
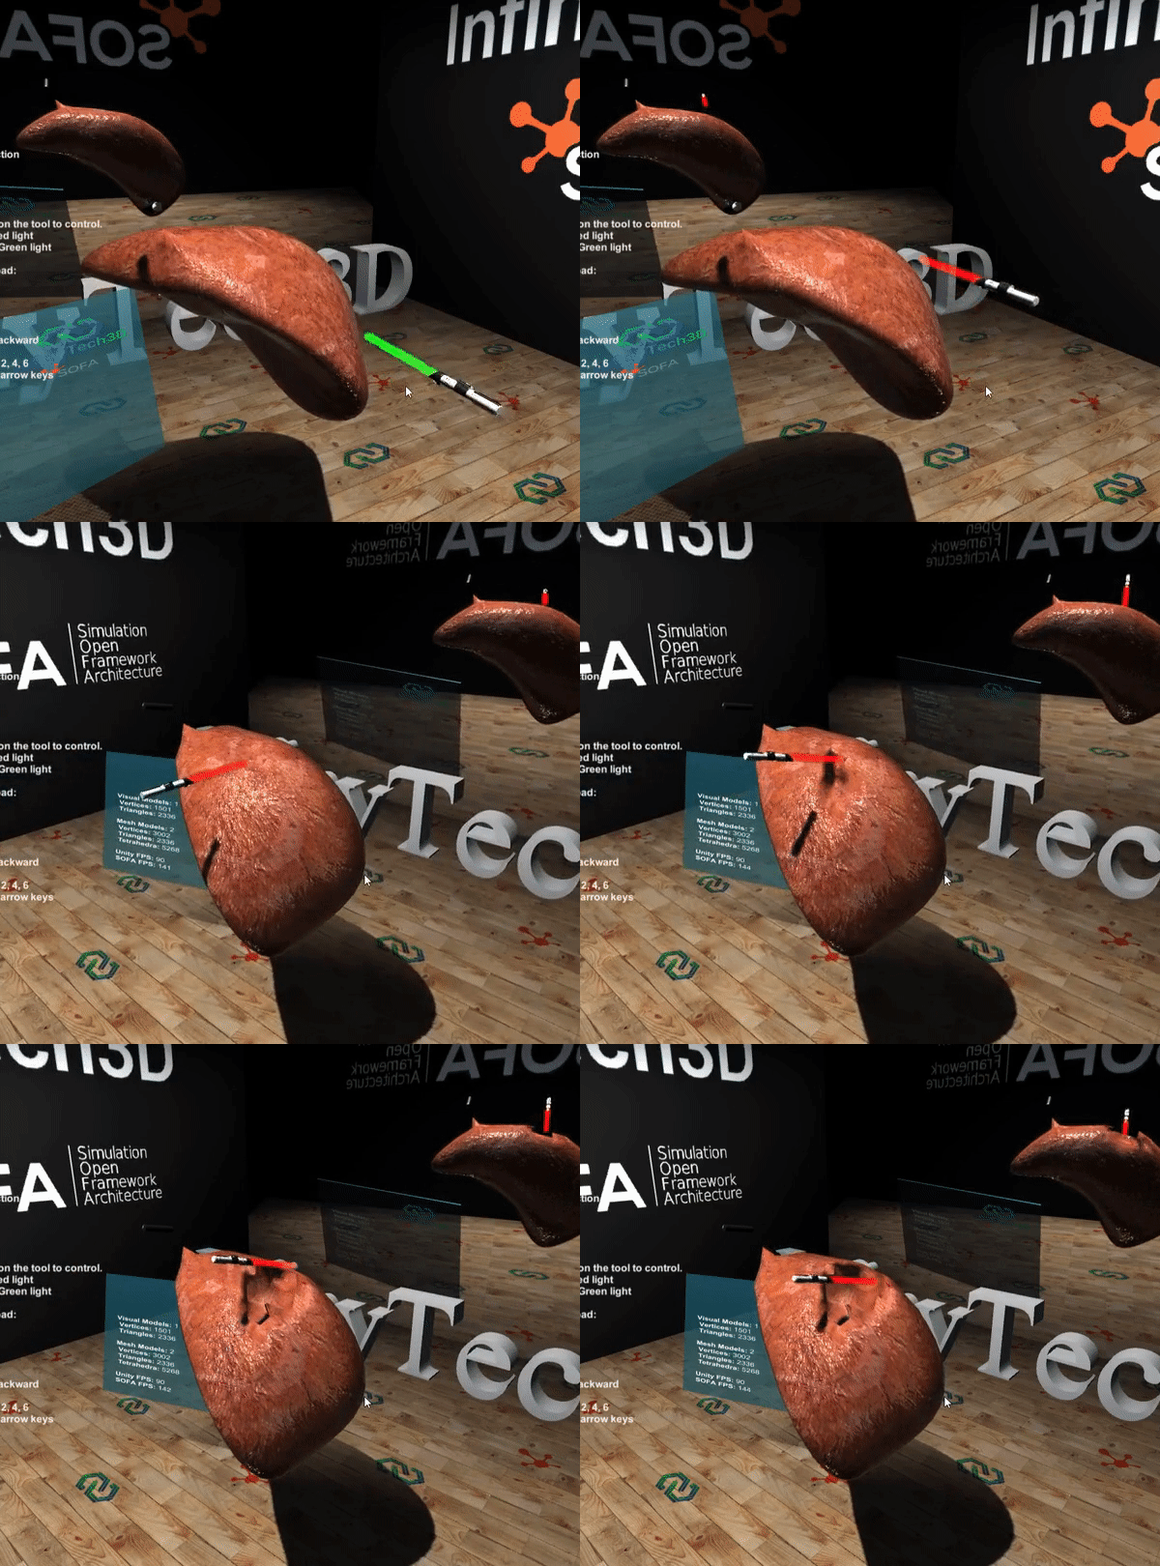
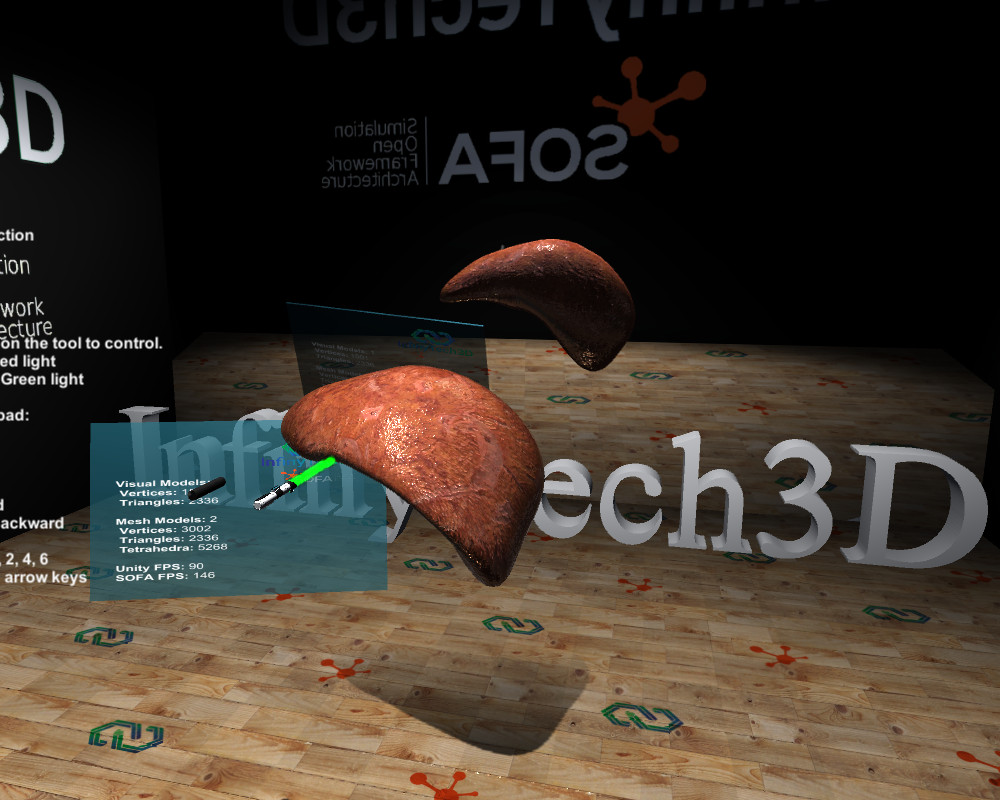
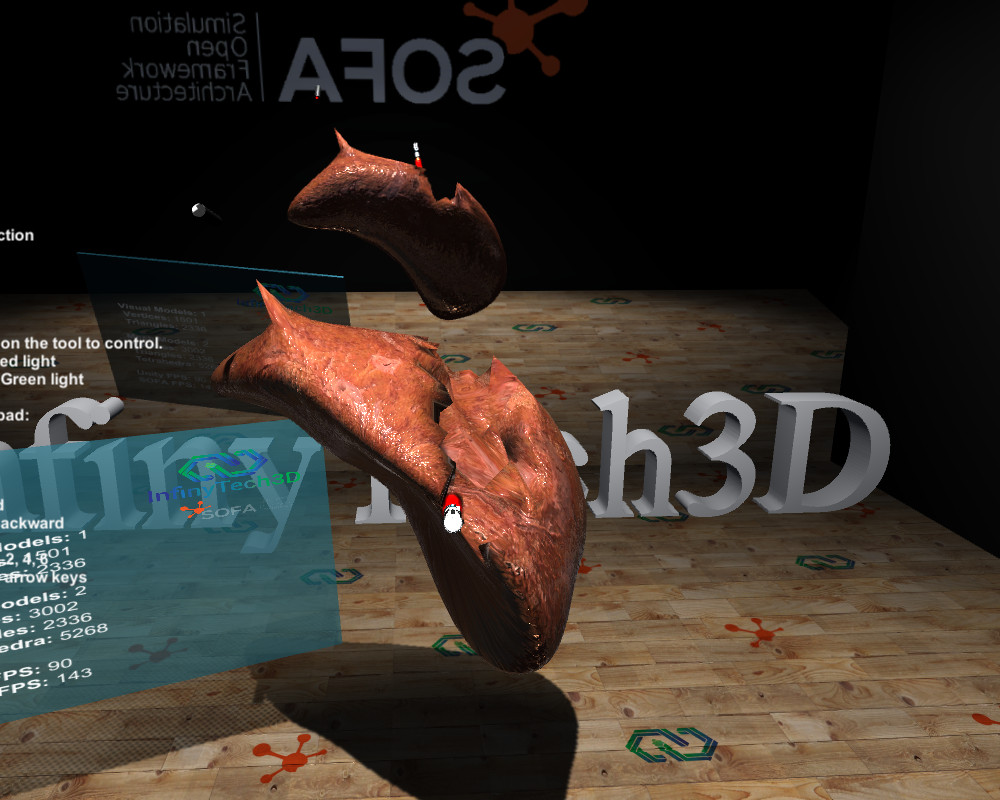
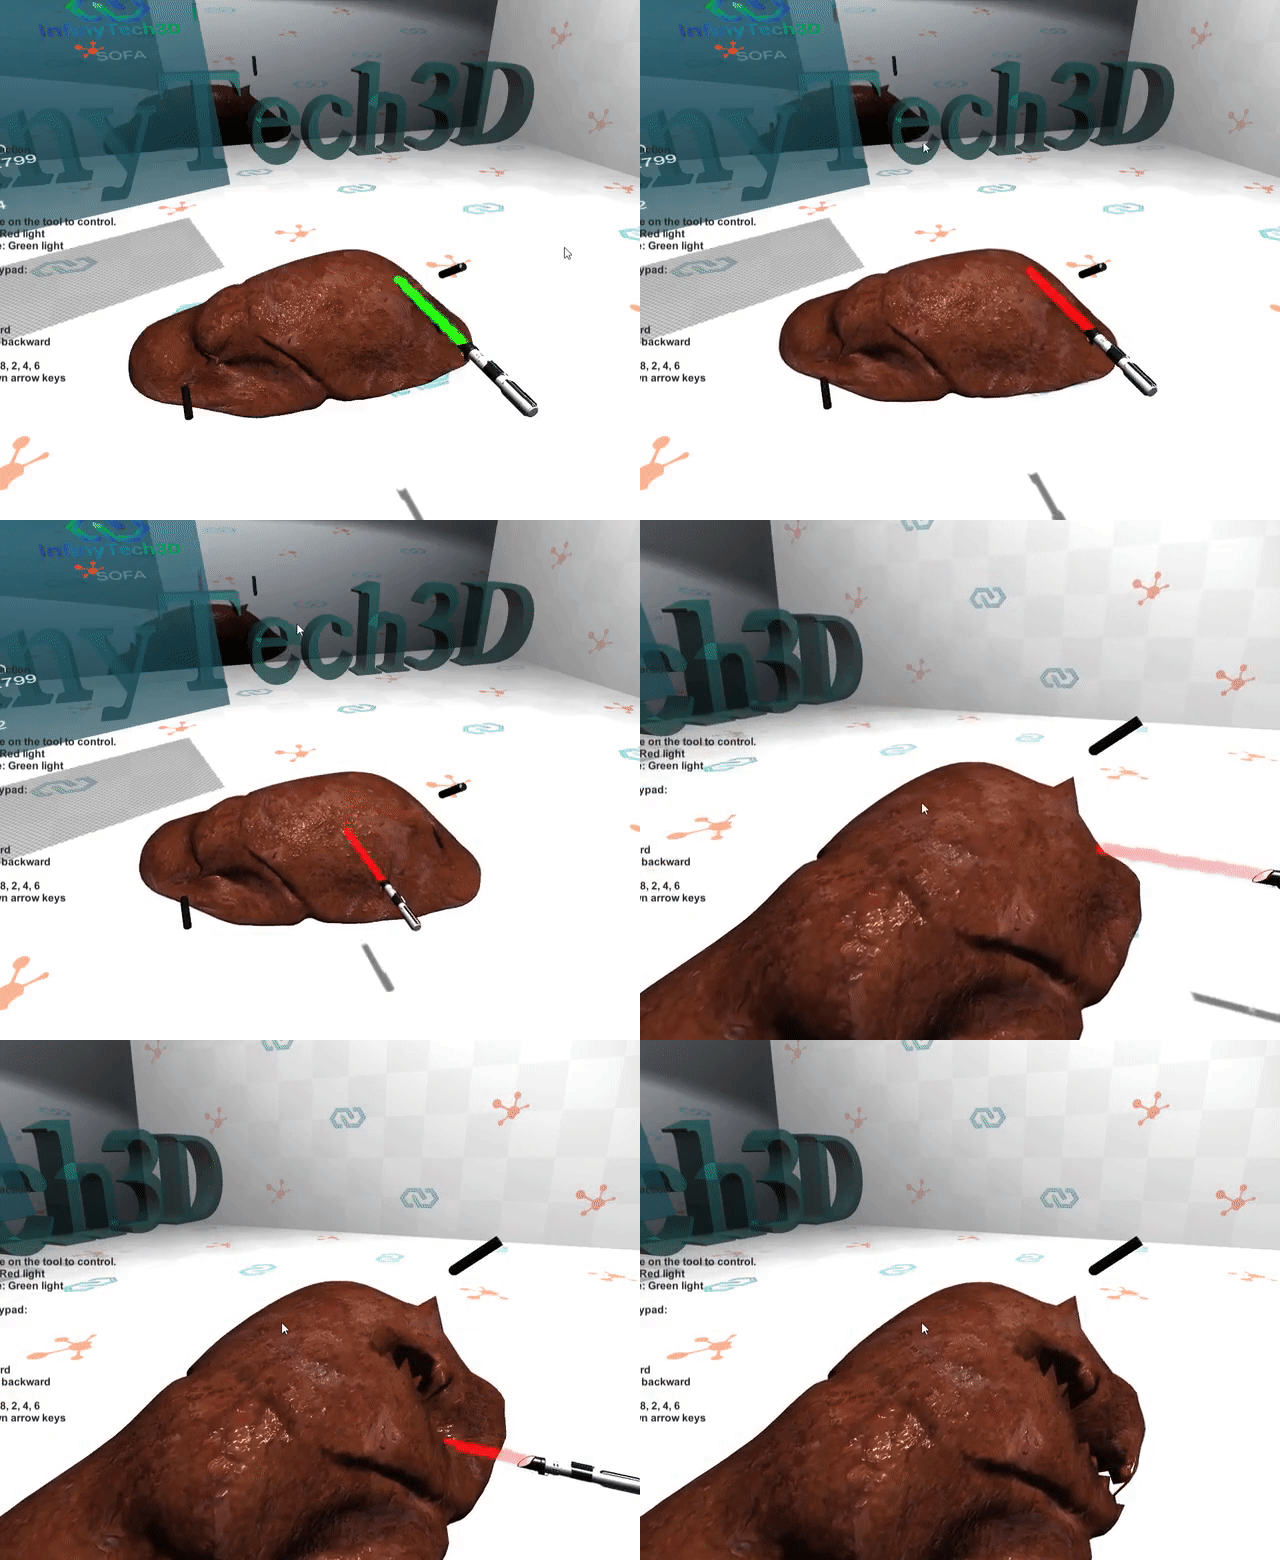
In this scene, a deformable liver is fixed in the air by it’s center. Two tools are available to interact with this 3D model. On the left a grabber tool and on the right a light saber to carve the model.
To use the tools, first select the tool you want to use by right clicking on it with the mouse. Once the tool is selected.
- Key C: Activate tool: Red light.
- Key V: Deactivate tool: Green light.
Then control tool with keypad:
- Key 8: Move up Ctrl + Key 8: Rotate up
- Key 2: Move down Ctrl + Key 2: Rotate down
- Key 4: Move left Ctrl + Key 4: Rotate left
- Key 6: Move right Ctrl + Key 6: Rotate right
- Key 5: Move forward Ctrl + Key 5: move backward
- Key Up/Down: Increase/Decrease tool motion speed
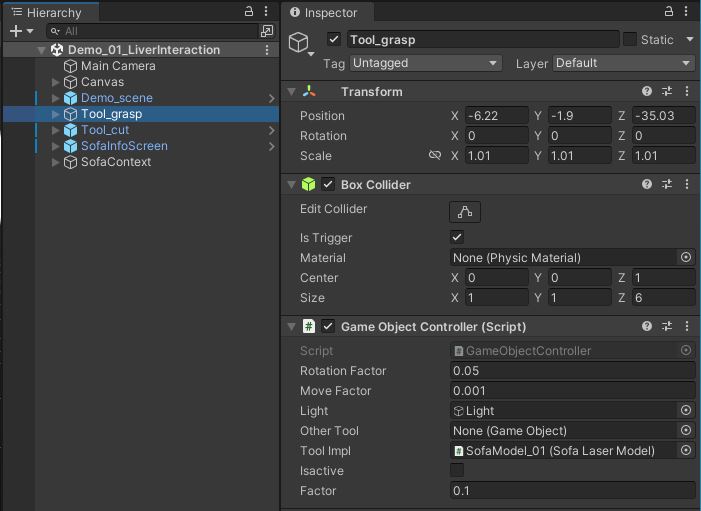
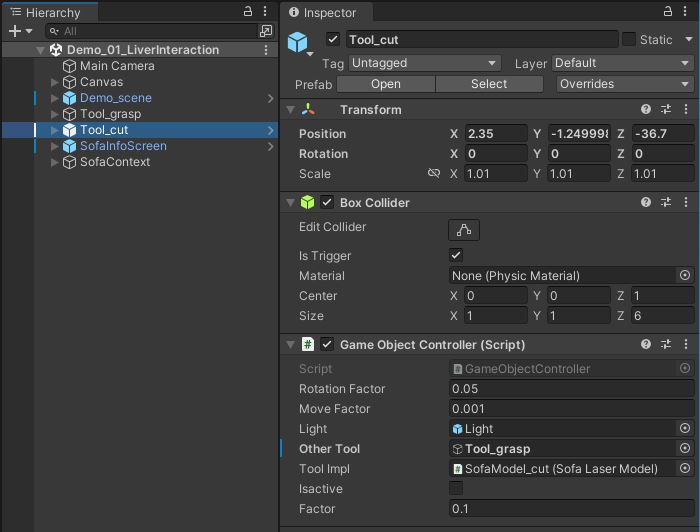
In this scene, once the SOFA scene has been loaded using the SofaContext, Two GameObjects are added. The Tool_grasp and the Tool_cut using prefabs.
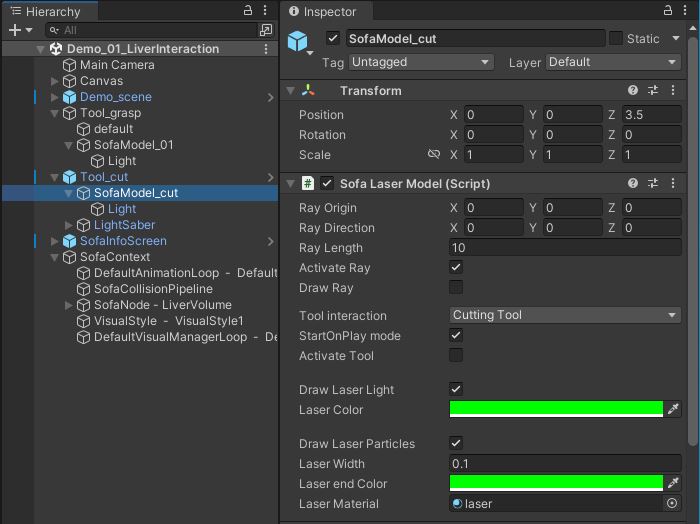
This prefab add a GameObjectController script to the object allowing to control it using the keyboard and a SofaLaserModel script that will create a RayModel interactor in SOFA simulation. This script is used to define either an Attach, a Carving or a Fix interactor in SOFA.
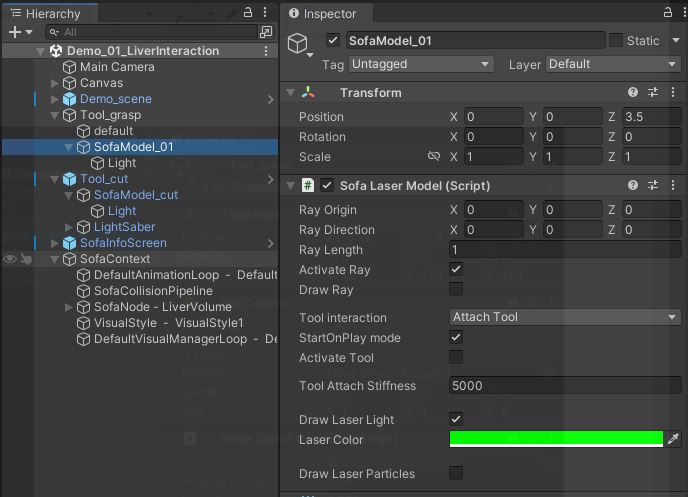
As shown on the left, the SofaLaserModel user interface allows to:
- Choose the interaction with the dropdown: Tool Interaction
- Activate and draw the Ray
- Draw laser and laser particles
If Attach tool is used, it is also possible to control the Attach Stiffness value.
02. Demo_02_LiverInteraction-HD
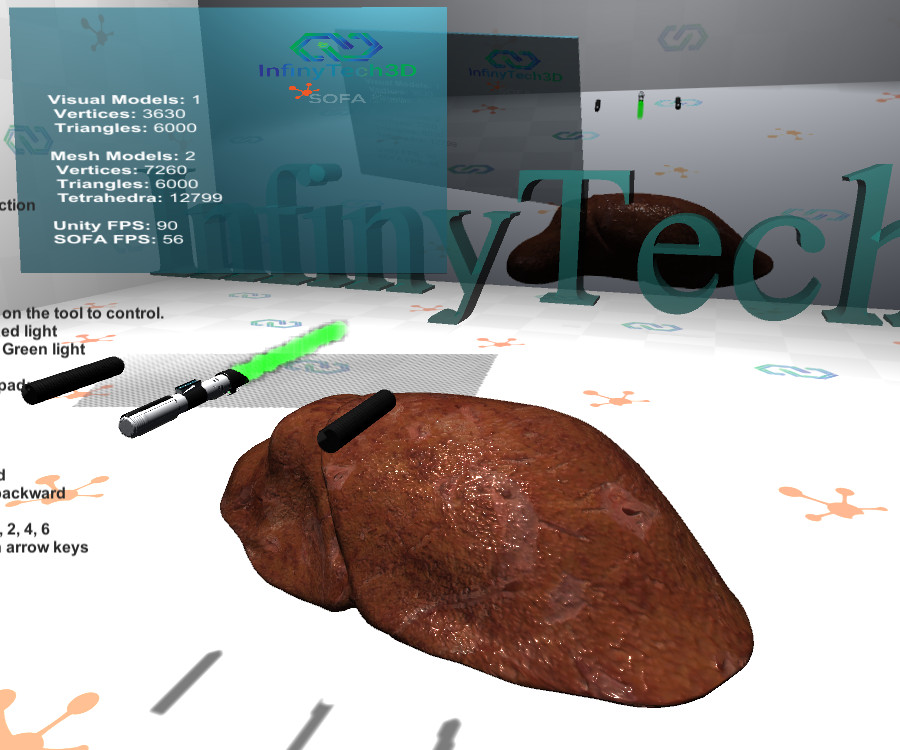
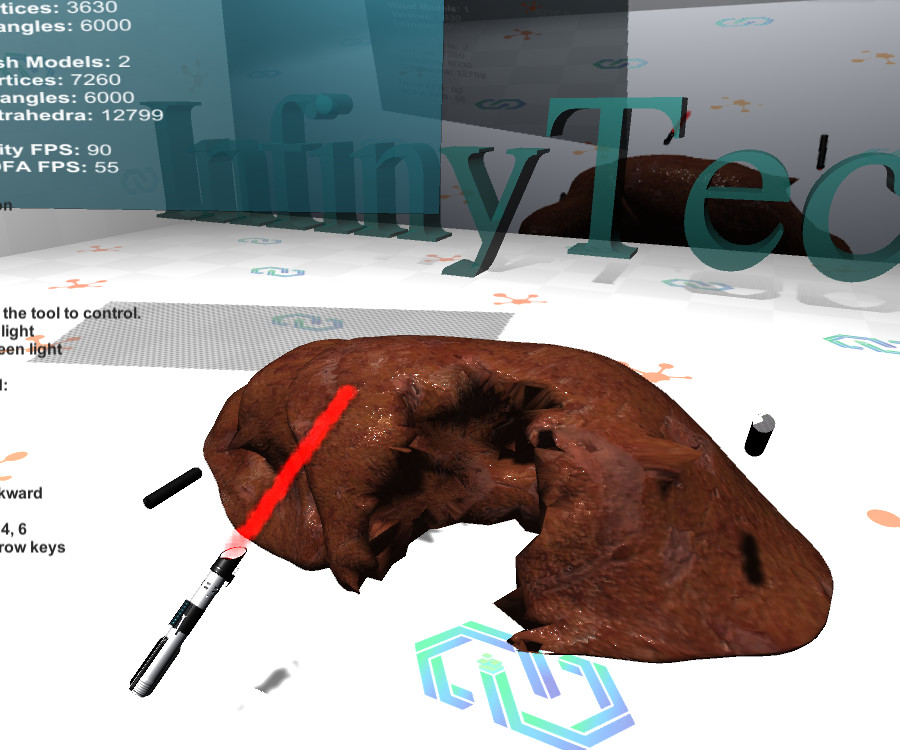
This scene is similar to the first one but here the 3D model is high resolution liver and 3 tools are available. Two graspers and a light saber to carve the model.
As in the first demo, first select the tool you want to use by right clicking on it with the mouse and then use the keyboard to control and interact with the liver.
03. Demo_03_CubeCarving
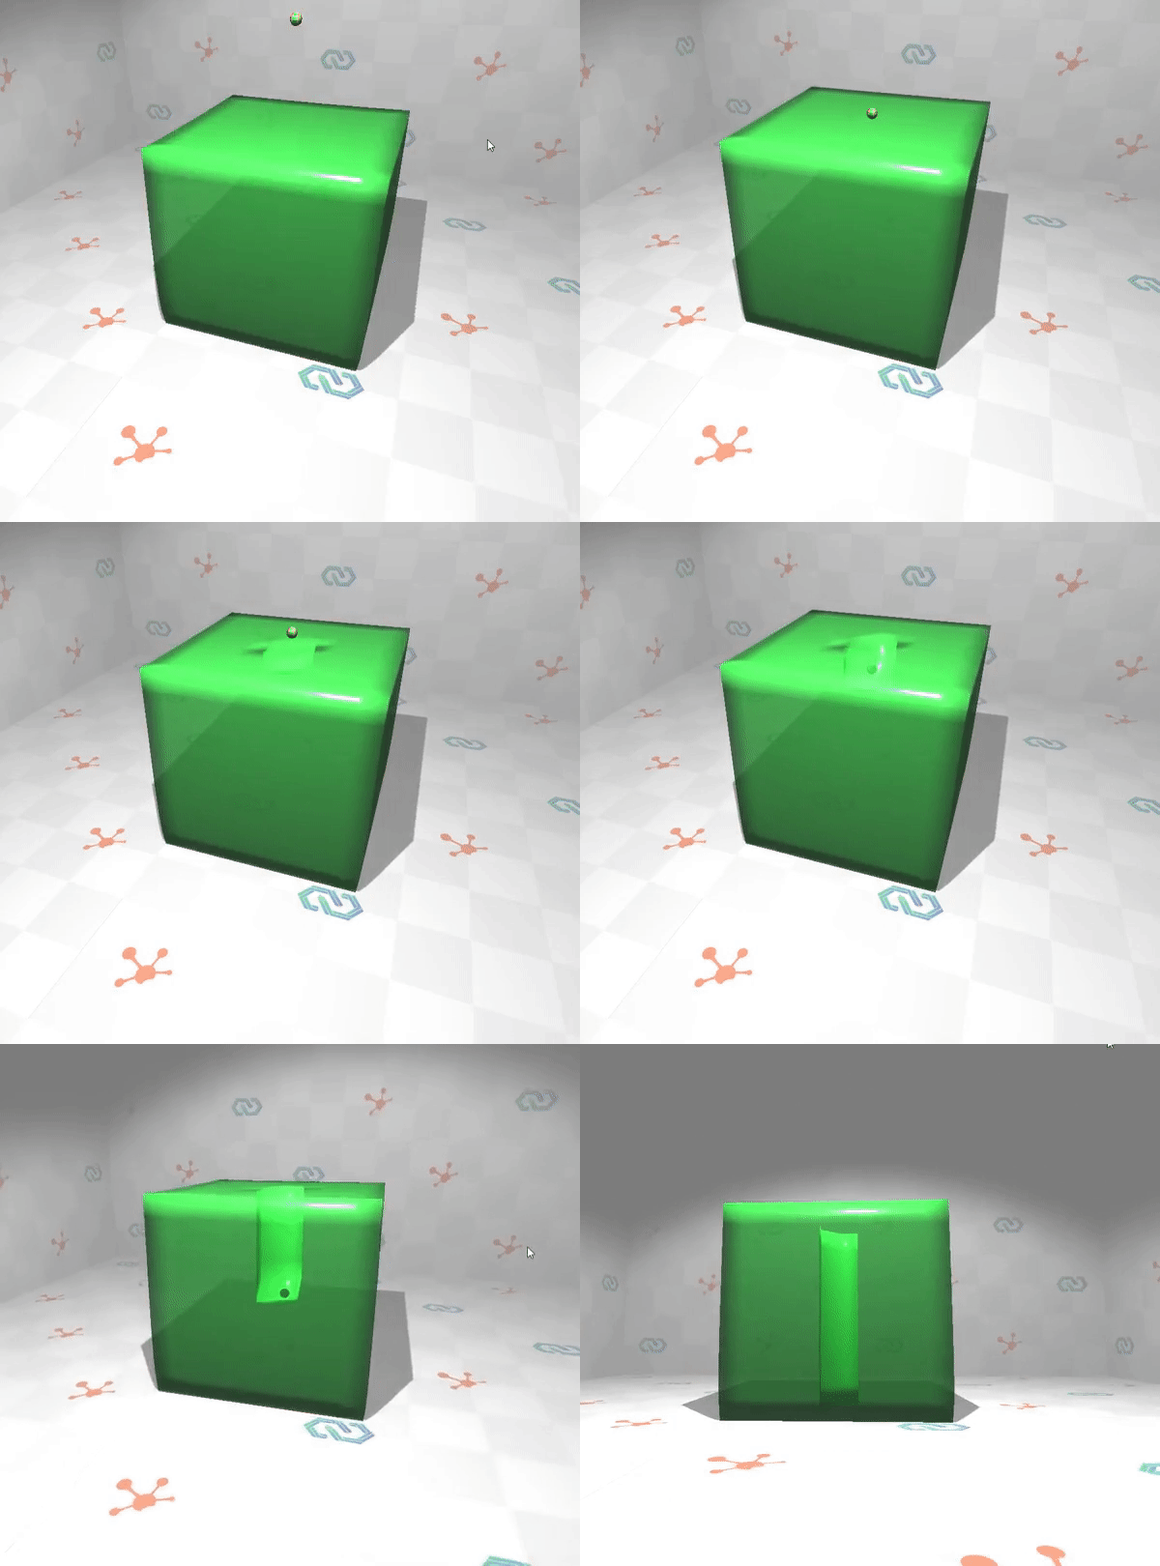
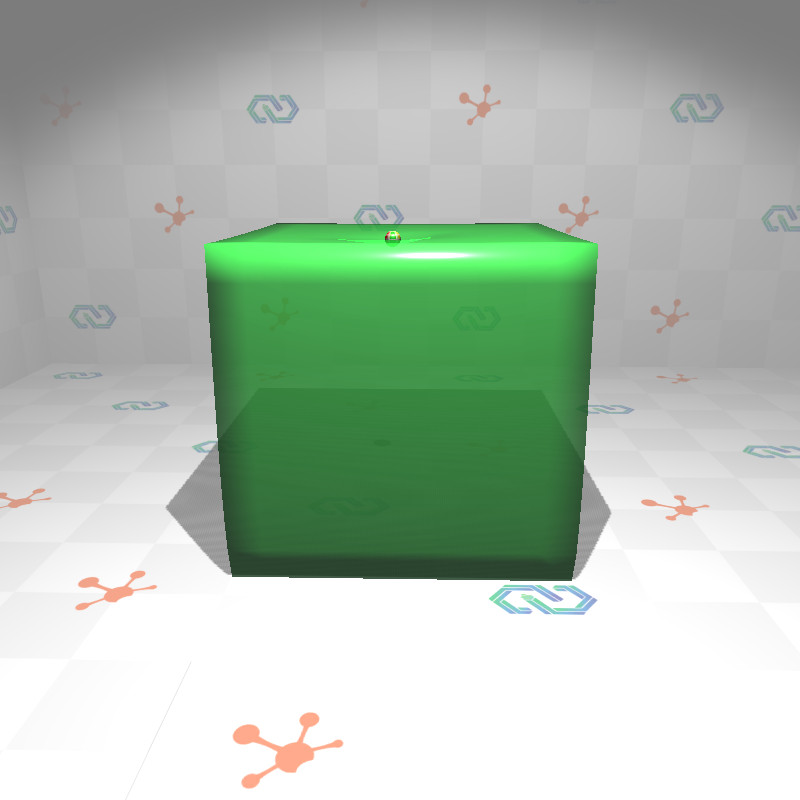
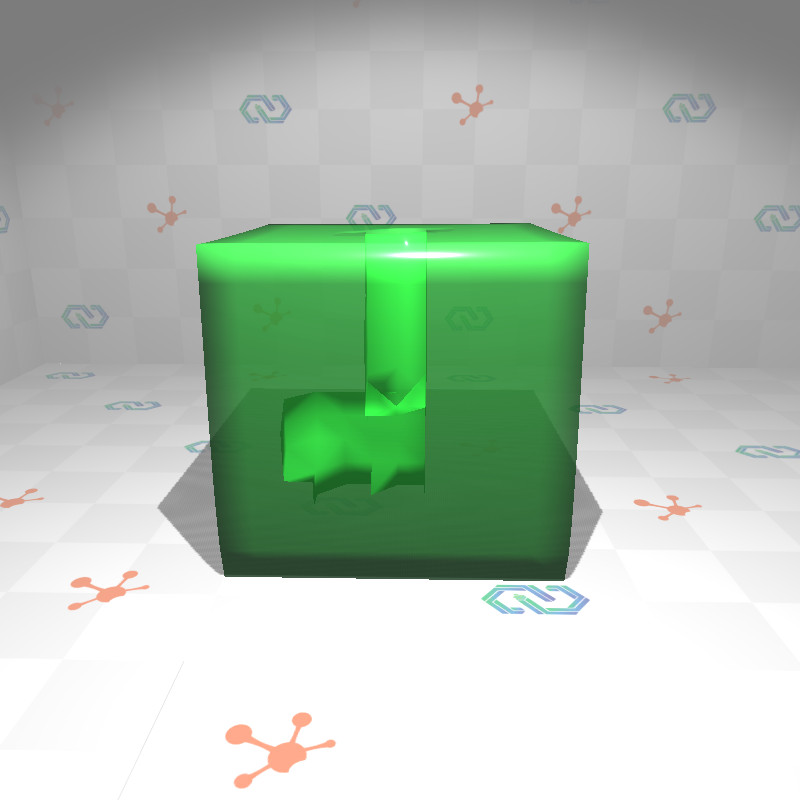
In this demo, a simulated sphere is used to interact and carve a deformable cube.
Compared to the previous demo with the tools, this sphere is physically simulated in SOFA and the carving is done when the sphere collide with the cube.
It is possible to activate the carving using the space keyboard or let the carving always activated.
It is also possible to calibrate the carving on the amount of penetration when the sphere collide the deformable cube.
As stated previously, the carving sphere is simulated inside SOFA and can be found in the SofaNode – carvingElement. It corresponds to a single sphere simulated using a MechanicalObject and a SphereModelCollision.
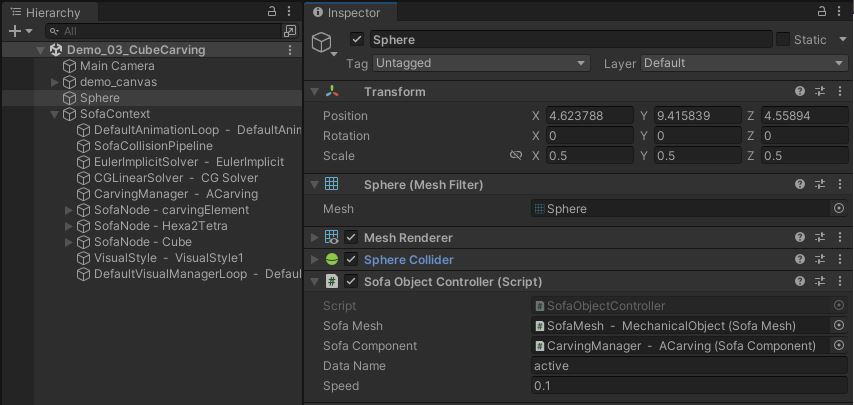
Once the SOFA scene has been loaded using the SofaContext, a Unity Sphere object is added in the scene to map the carving sphere.
- Sofa Mesh: Link to the SOFA Component Mesh of the carving sphere.
- Sofa Component: Link to the SOFA component to control.
- Data Name: Name of the SOFA Data to bool to activate.
As in first demo, the SofaObjectController allows to move the sphere using the keyboard. See first demo instructions.
04. Demo_04_CubeAdvancedCarving
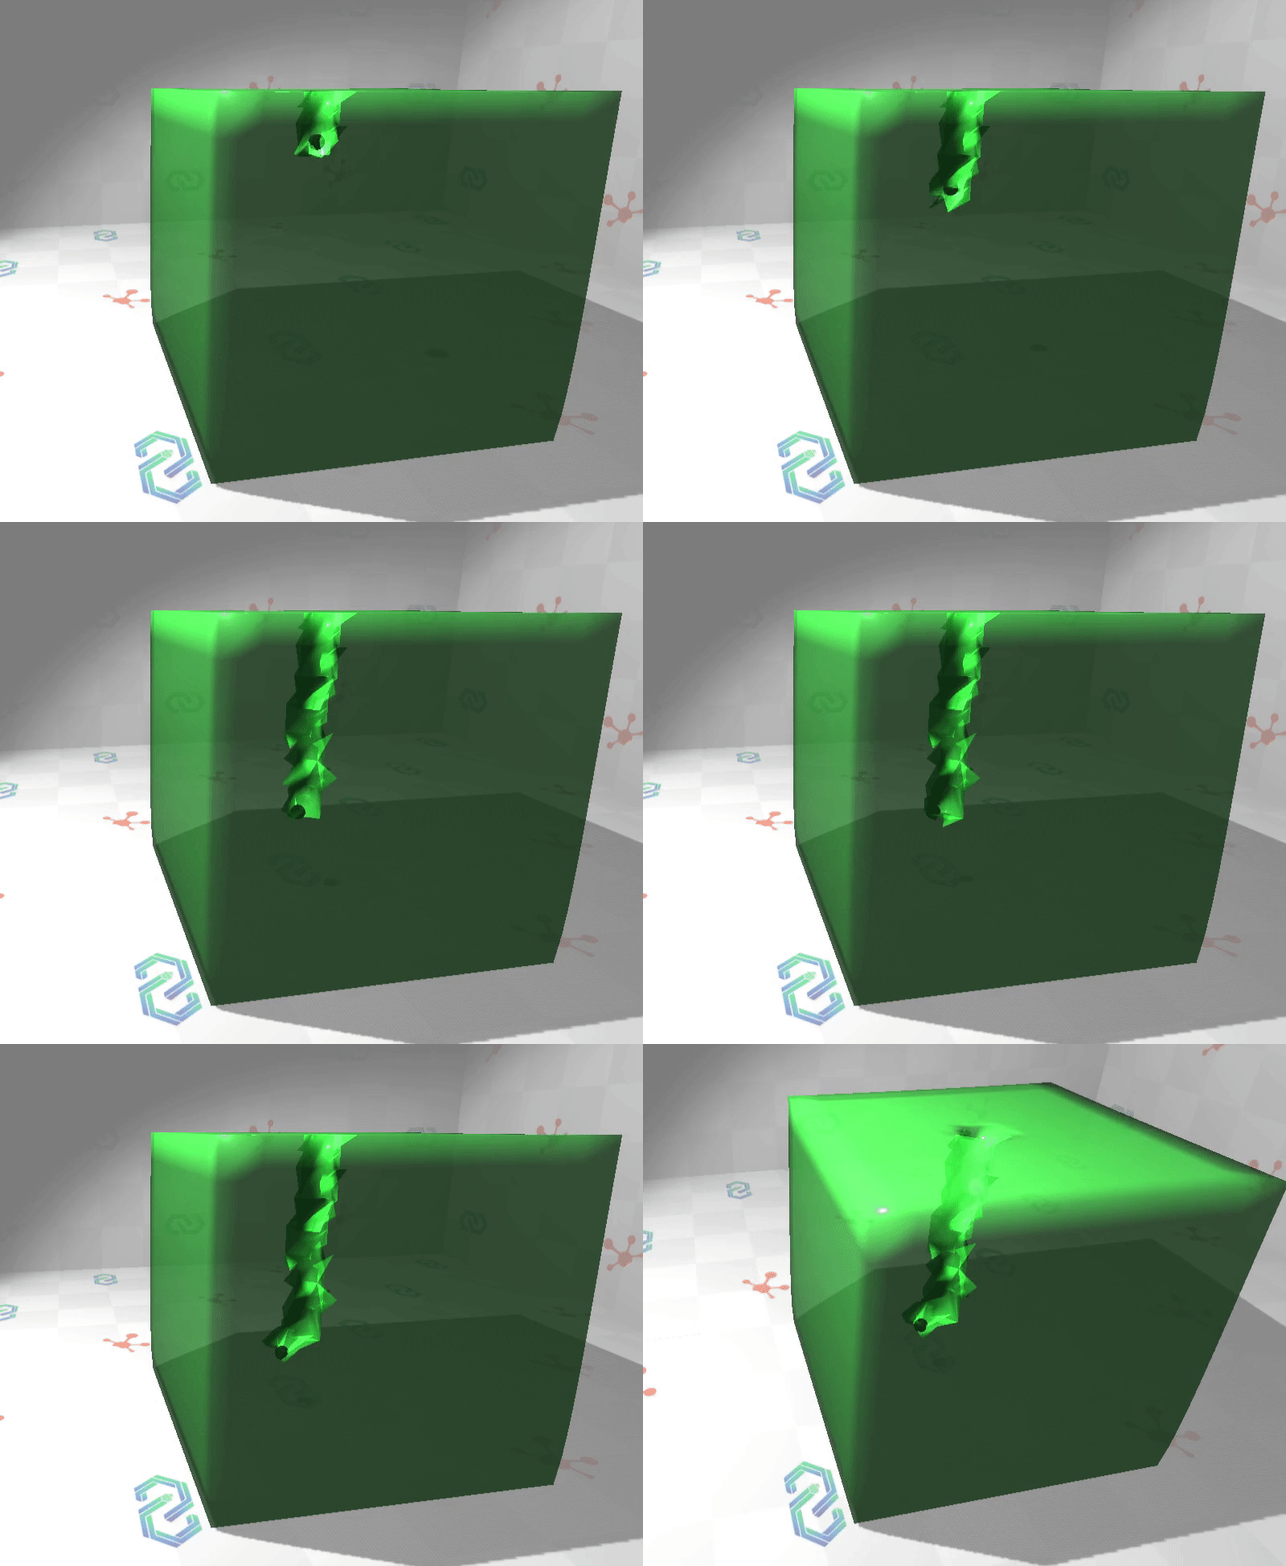
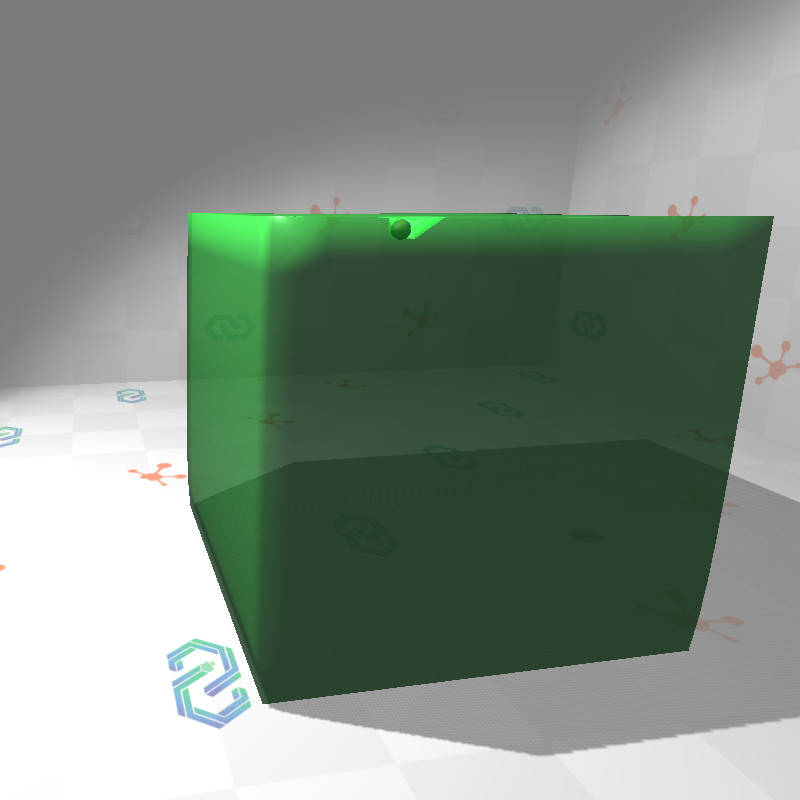
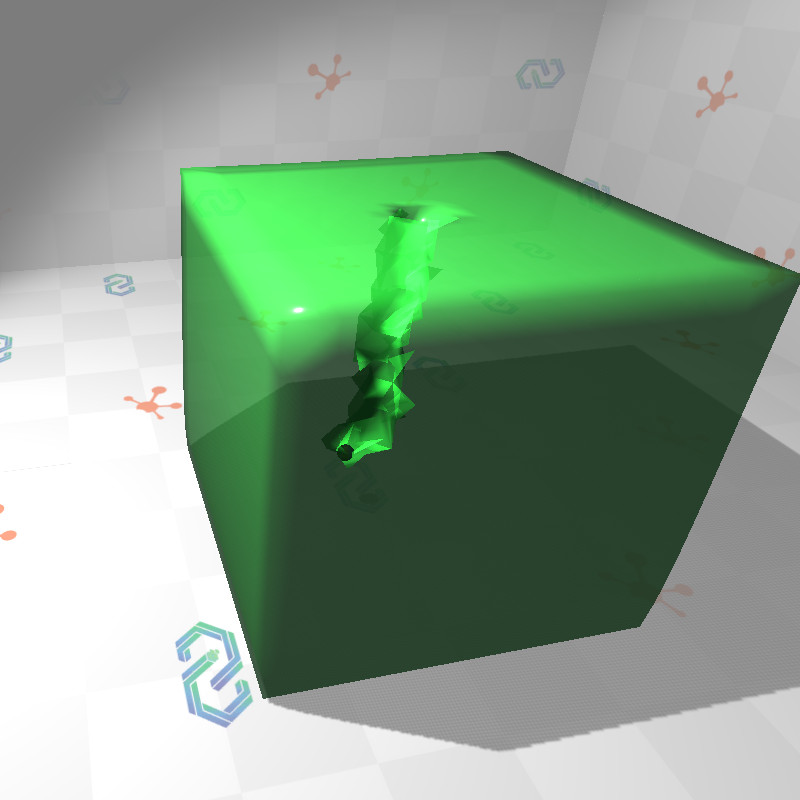
This demo is similar to the carving Demo_03 but using the component AdvancedCarvingManager instead of the generic CarvingManager available in the main open-source repository of SOFA.
The AdvancedCarvingManager component is using the MeshRefinement plugin. This allows to refine mesh while carving in order to reduce the hole size and also to refine the texture coordinates. This plugin is available under specific license. Please check the license page for more information.
As in previous demo, the carving sphere is simulated inside SOFA and can be found in the SofaNode – carvingElement. It corresponds to a single sphere simulated using a MechanicalObject and a SphereModelCollision.
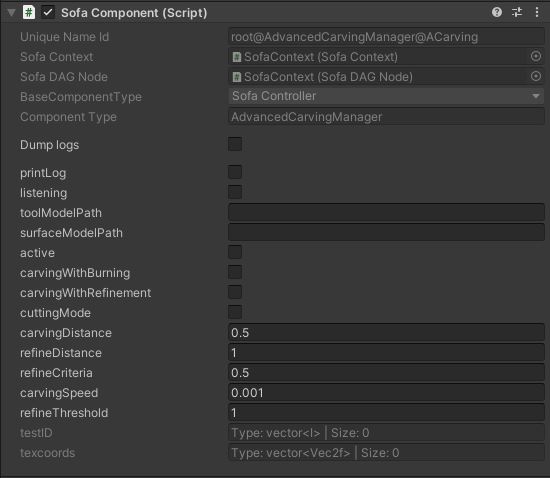
Once the SOFA scene has been loaded using the SofaContext, the SOFA component AdvancedCarcingManager Data fields are available through the Unity inspector.
Here, several options can be used to parametrize the carving with refinement:
- carvingWithBurning: Unusable, work in progress.
- carvingWithRefinement: If true, activate mesh refinement while carving.
- cuttingMode: Unusable, work in progress.
- carvingDistance: Collision distance at which cavring will start. Equal to contactDistance by default.
- refineDistance: Collision distance at which refinement will start. Should be higher than carvingDistance.
- refineCriteria: Minimum volume value threshold to not split tetrahedral element.
- carvingSpeed: Unusable, work in progress.
- refineThreshold: Unusable, work in progress.
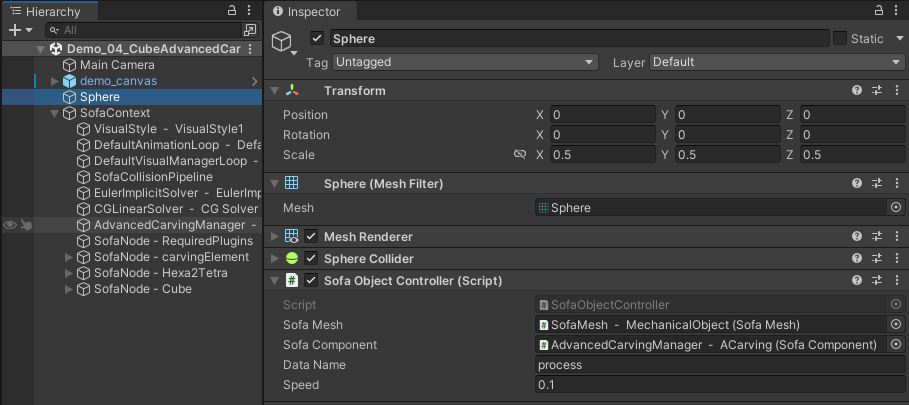
As in previous demo, a Unity Sphere object is added in the scene to map the carving sphere with a SofaObjectController.
- Sofa Mesh: Link to the SOFA Component Mesh of the carving sphere.
- Sofa Component: Link to the SOFA component to control.
- Data Name: Name of the SOFA Data to bool to activate.
Compared to previous demo, the process Data field is used to carve only once at each space hit.
05. Demo_05_LiverCut
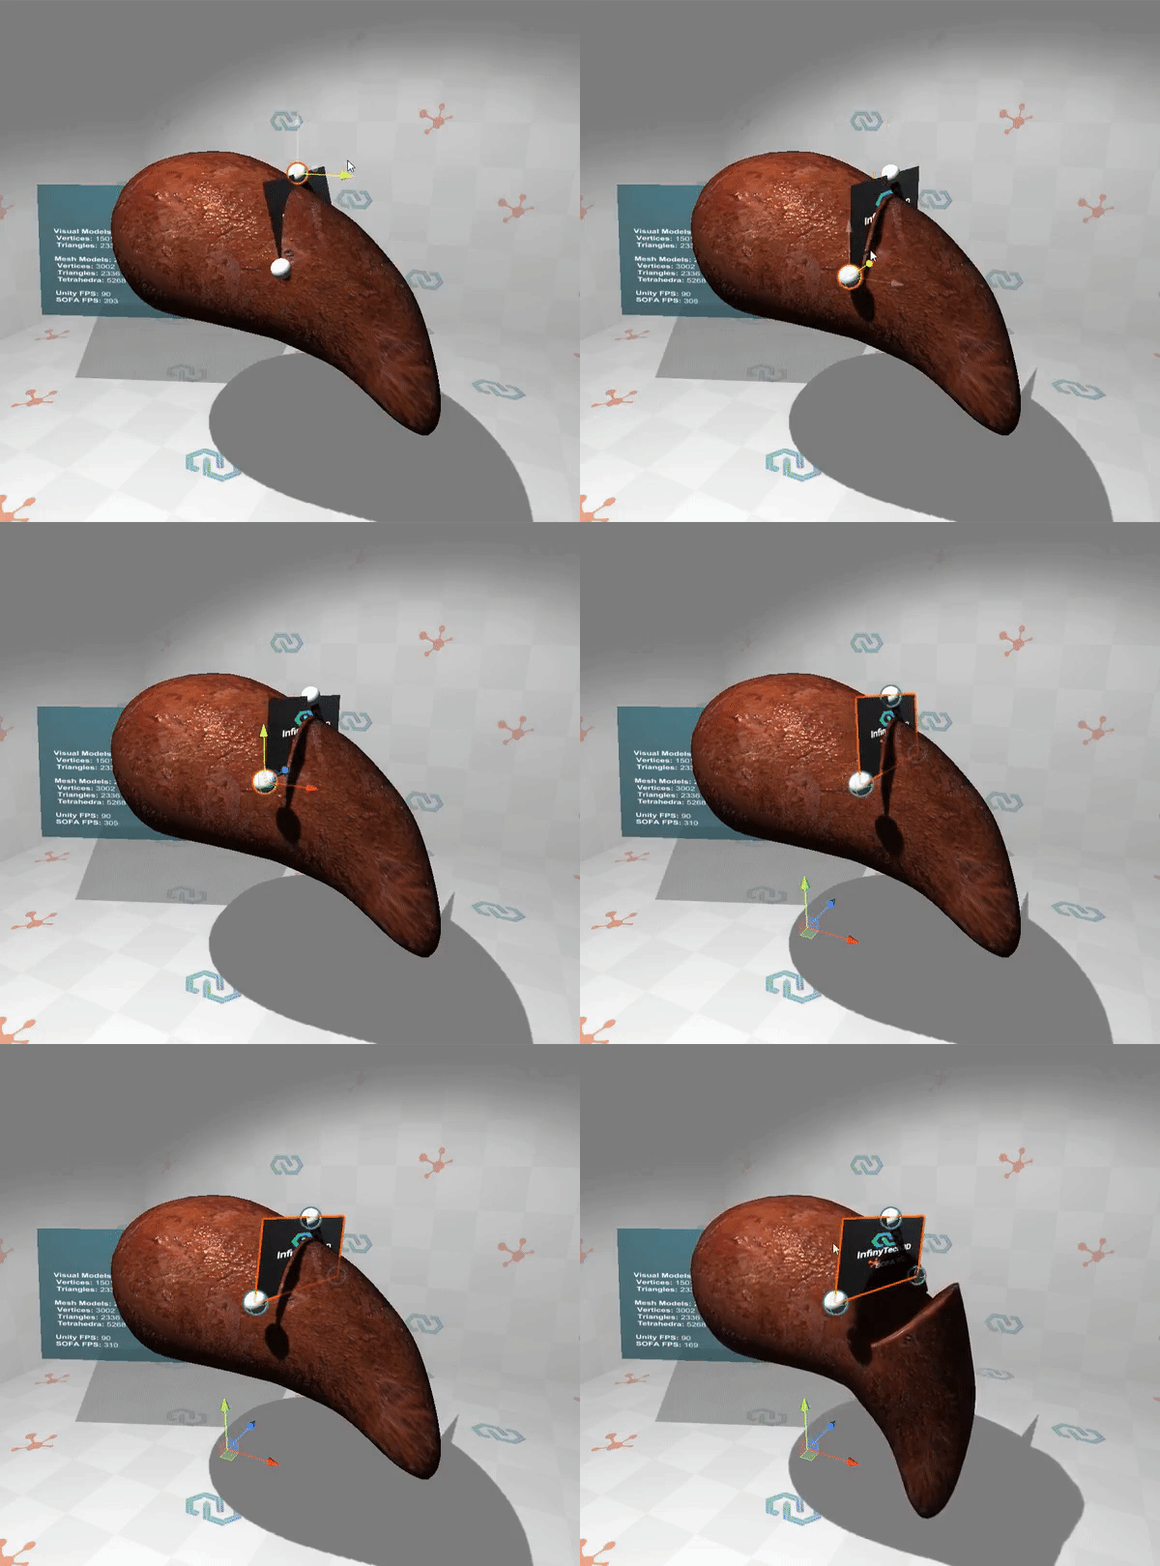
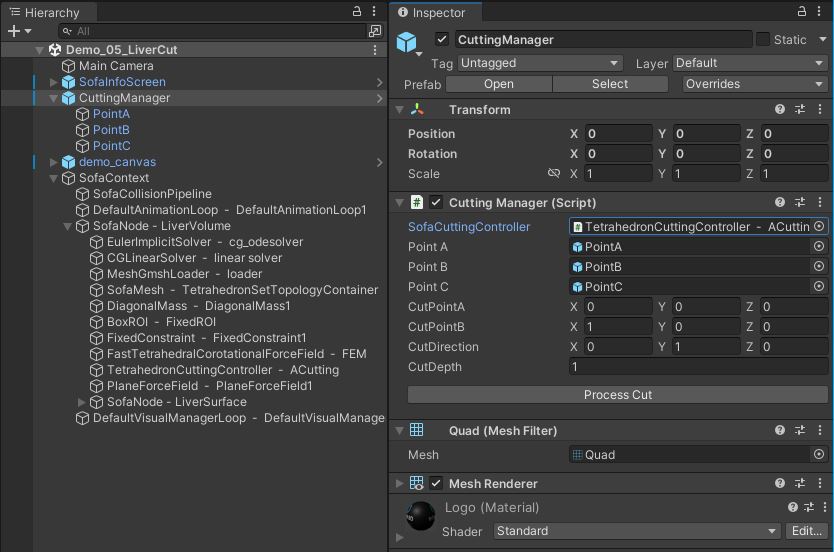
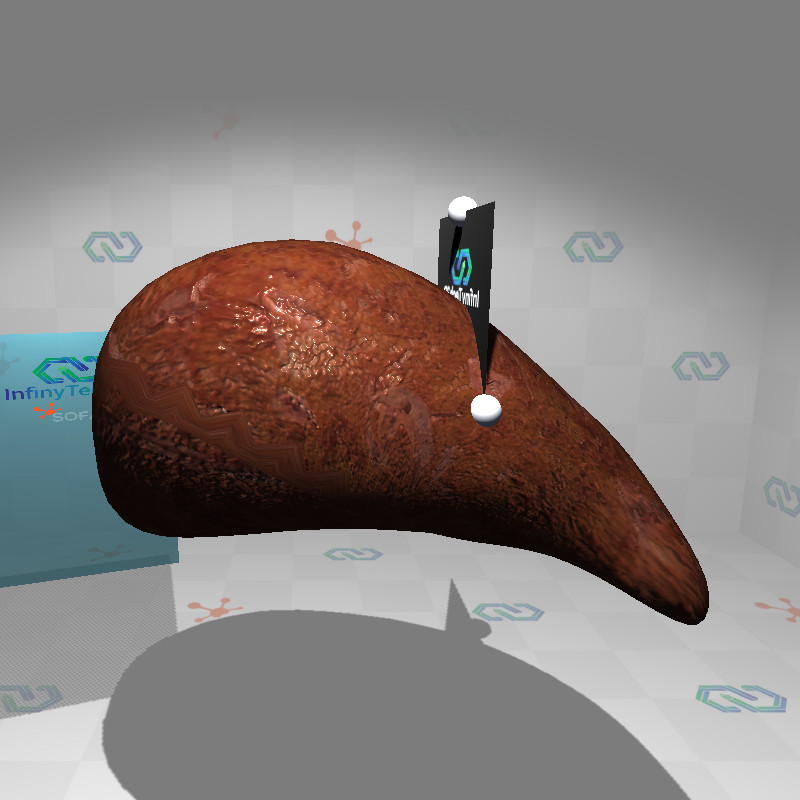
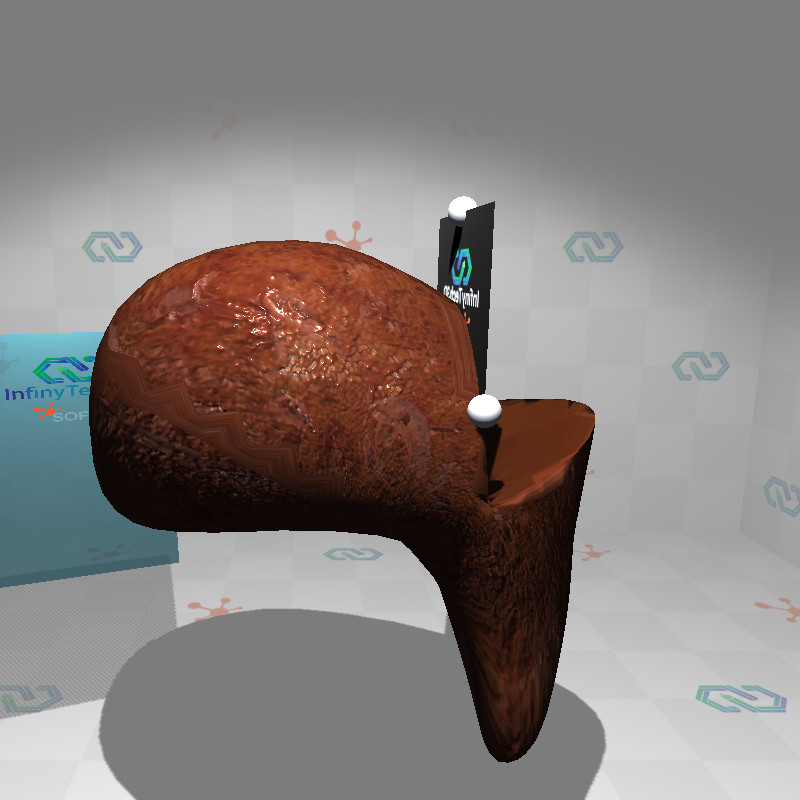
This scene demonstrate how to cut a 3D mesh using a plan as cutting path. To define the cut, a Unity component CuttingManager is added to the scene to define the exact cut path and size. This Unity script is controlling the SOFA TetrahedronCuttingController component.
This component is part of the MeshRefinement plugin available under specific license. Please check the license page for more information.
A CuttingManager prefab is added to the scene with a CuttingManager script and 3 GameObject spheres controlled by it.
The spheres are defining 3 points in space and are linked to the script using PointA, PointB and PointC fields.
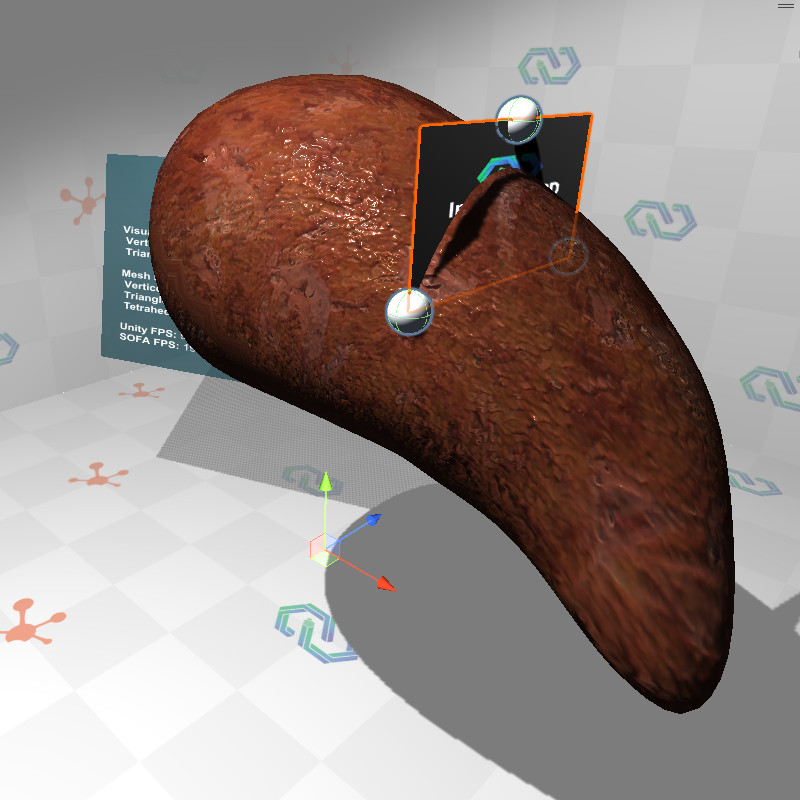
The position of points A and B can be changed either manipulating the Sphere Transform or directly in the fields: CutPointA and CutPointB. Point C is defining the CutDirection and CutDepth fields.
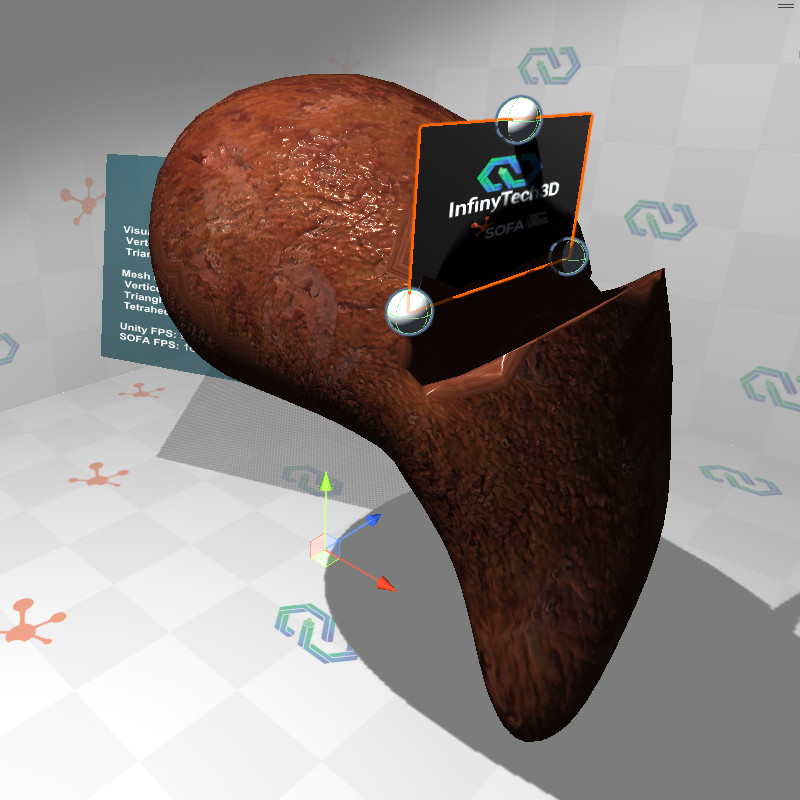
Once the cutting square in 3D space is defined, the button “Process Cut” should be used to perform the cut.
06. Demo_06_LiverCut-CUDA
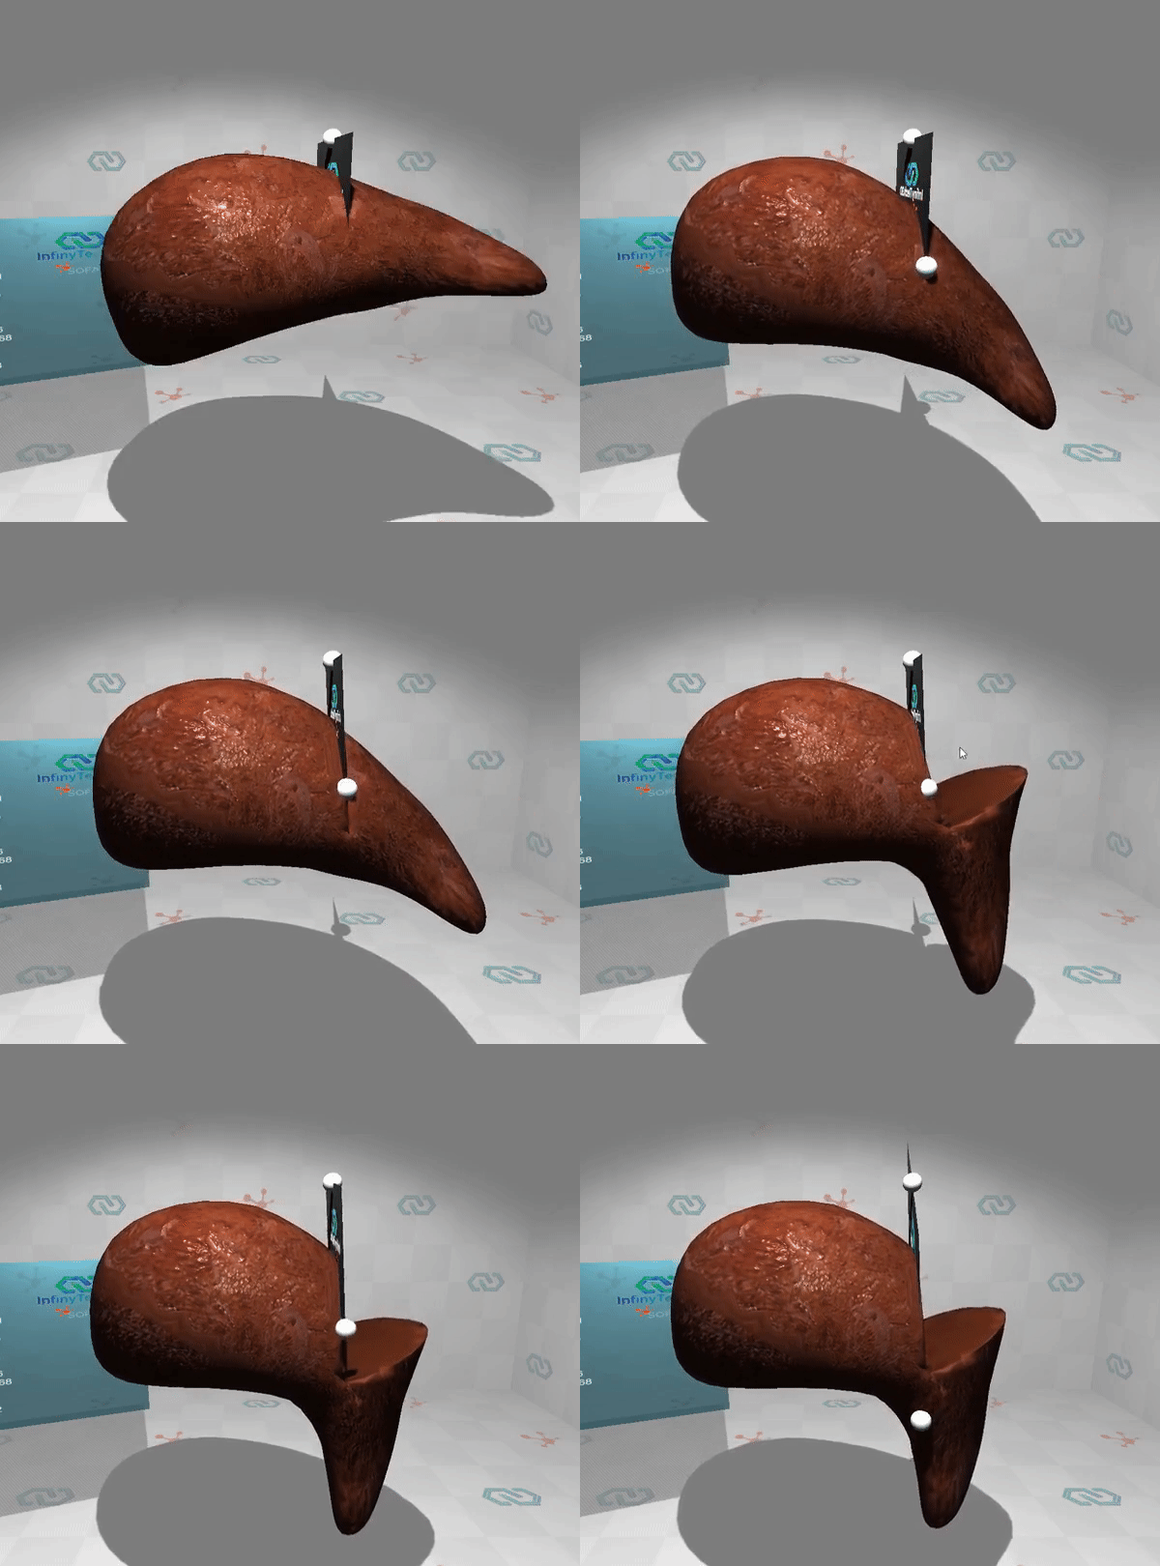
This demo is equivalent to the previous one but using SOFA CUDA template to use GPU optimization.
The CuttingManager prefab should also be used in this scene.
More information on the CUDA plugin can be found here.
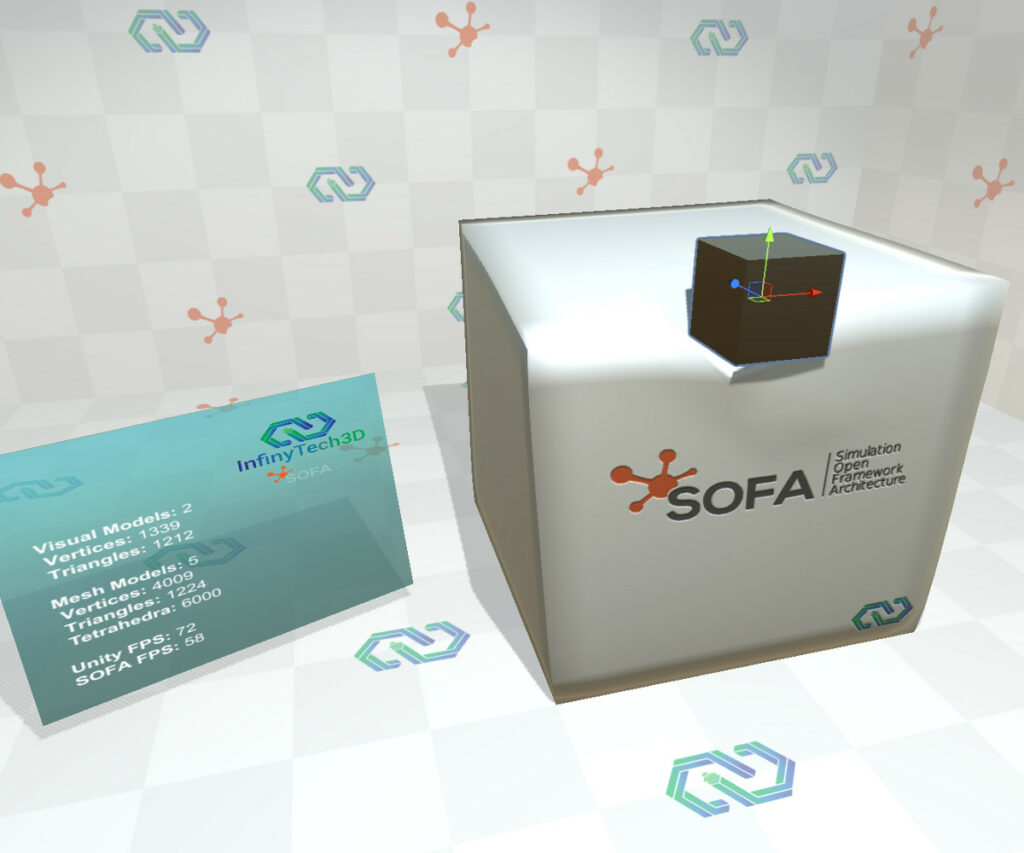
07. Demo_07_MeshController (since v24.06)
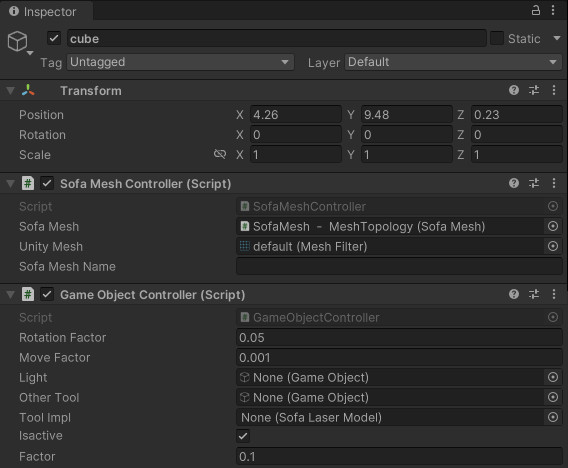
SofaMeshController to map 3D positions of an object in Unity to the SOFA world.
Here the small cube vertices are sent to SOFA simulation as a ghost object and used to simulate collision with the deformable cube which is fully simulated in SOFA. 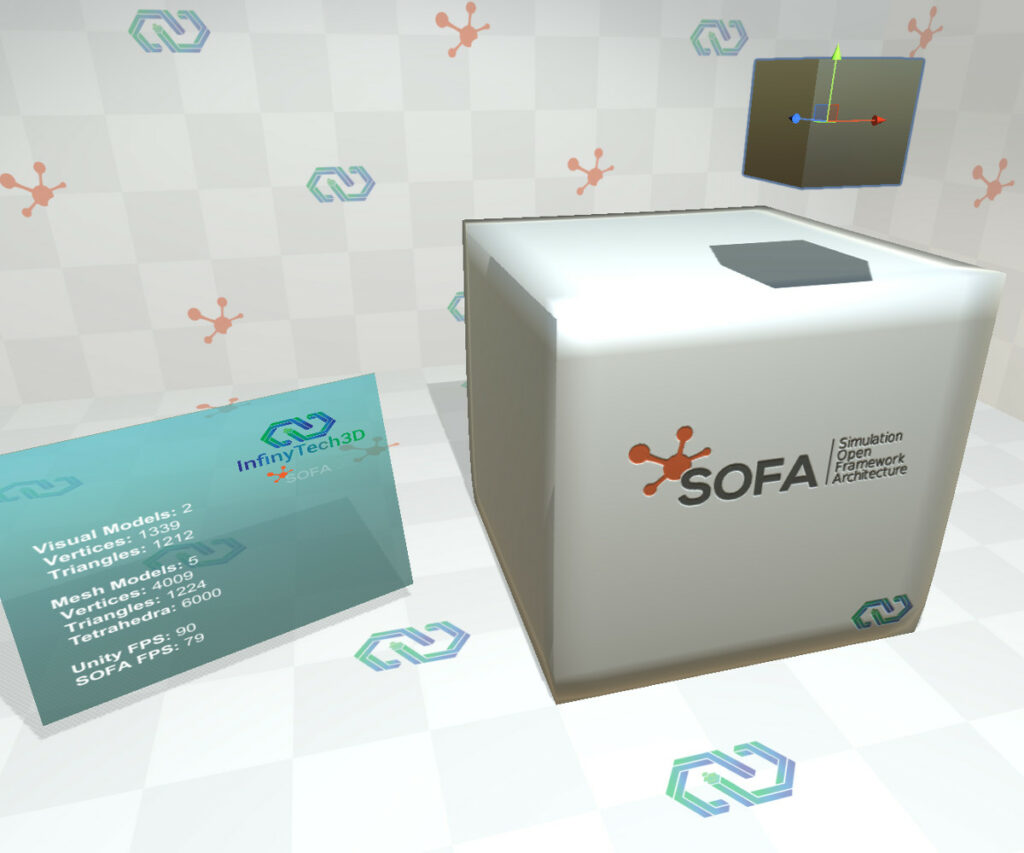
08. Demo_08_MouseTissuePicking (since v24.06)
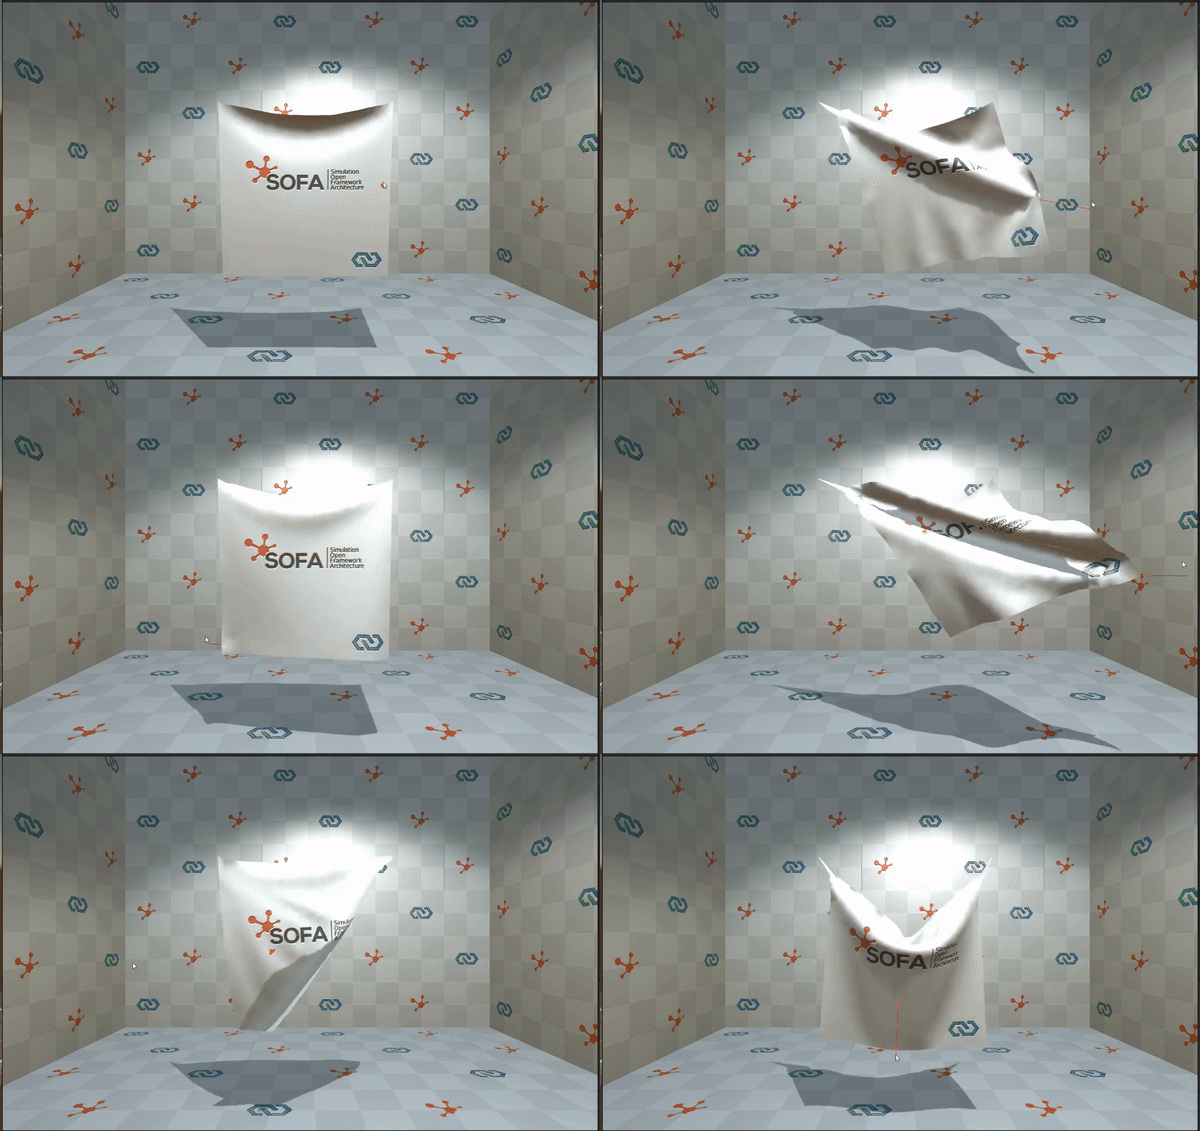
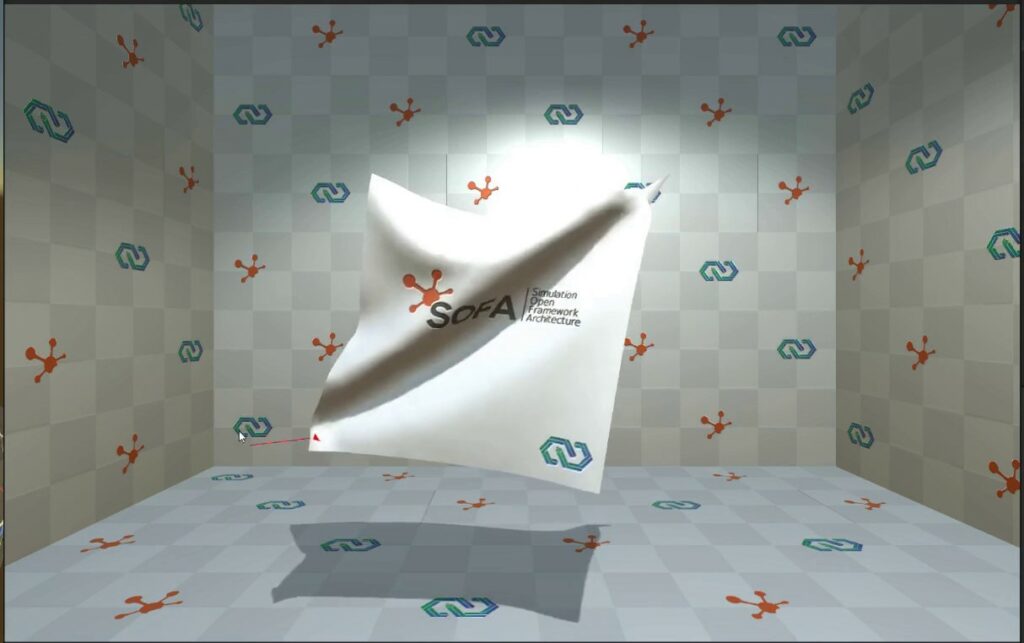
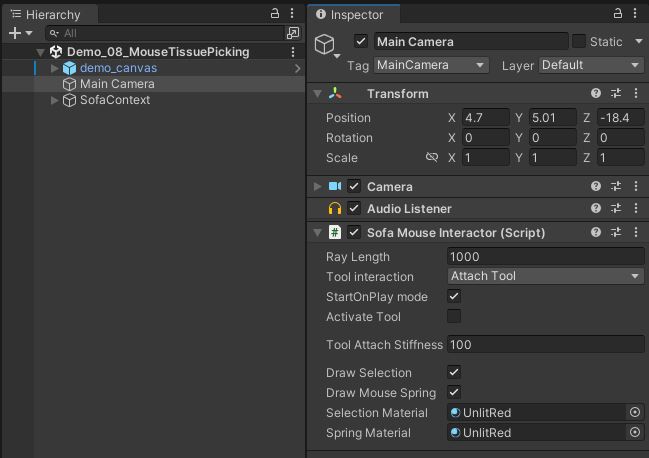
A new component called SofaMouseInteractor based on the SOFA Ray Tracing has been introduced in v24.06. This component need to be placed on the Main Camera to work. It will use the current camera view and mouse position in screen to compute the Mouse ray picking direction.
To use it, hold shift key + left mouse click.
From the inspector, you can defined:
- Ray length
- Mouse attach spring stiffness
- Draw options to debug the mouse picking
PS: Element removing with the mouse has not been fully tested yet.
